


How to Apply

Step-by-step guide
How to apply
Salon-quality nails, done at home in minutes.
Trying press-ons for the first time? Don't worry, we'll show you how, step by step. Your first set might take longer than 10 minutes while you're getting the hang of it, but we promise it only gets quicker every single time.
First, find your size
Do this before you buy. The right size is the secret to a natural look and long wear. Measure your natural nails, not over gel or acrylic.


Choose your size
Match your measurements to the chart and choose the size that fits most of your fingers.
| Size | Thumb | Index | Middle | Ring | Pinky |
|---|---|---|---|---|---|
| XS | 14 | 10 | 11 | 10 | 8 |
| S | 15 | 11 | 12 | 11 | 9.5 |
| M | 16 | 12 | 13 | 12 | 10 |
| L | 17 | 13 | 14 | 13 | 11 |
All measurements in mm
Between sizes? Size up for the best result. You can gently file the sides to fine-tune the fit, and sticky tabs fill tiny gaps.
Not sure which size to choose? Email your measurements to service@huenails.com.au and we'll recommend the right fit before you order.
Ordered the wrong size? Contact us within 14 days of delivery and we'll find a solution for you. Email service@huenails.com.au or message us on Instagram @huenails.au.
Before you start: prep
The same for sticky tabs and nail glue. Good prep is the key to long wear.
 1
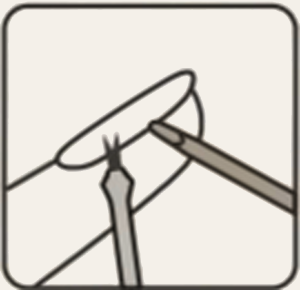 2
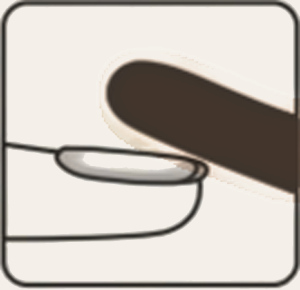 3
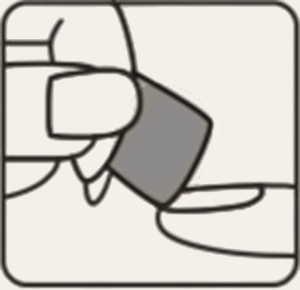 4
- Clean handsWash and dry your hands. Nails must be free from any creams or oils.
- Push backGently push back your cuticles with the cuticle pusher to expose as much natural nail as possible.
- BuffGently buff the surface of your natural nails to remove the shine and smooth any ridges.
- CleanseWipe each nail with the alcohol prep pad and allow to dry completely.
Method 1: Sticky tabs Our recommended everyday method
- Best for: temporary wear & easy removal
- Typical wear: from 1 day
- Up to 2 weeks* with proper prep & care
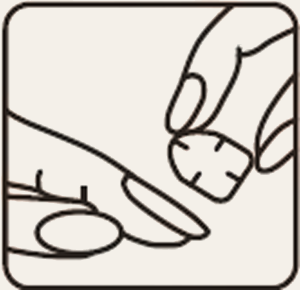 1
 2
 4
 5
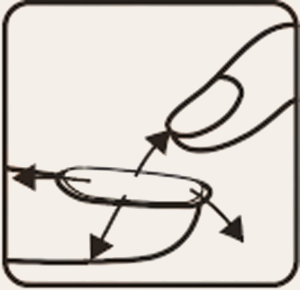
- Apply the tabsSelect the right size tabs and apply them to your natural nails, leaving ~1 mm from the cuticle. Handle each tab by the pull tab only: fingerprints leave oil, and every touch costs you hold.
- Press & peelPress firmly from the centre towards the edges, then peel off the protective backing.
- Warm (optional)Warm the tabs with a hair dryer for 10–15 seconds. It noticeably improves hold.
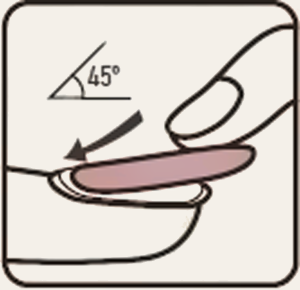
- Place at 45°Hold the press-on at a 45° angle, align with the cuticle and press into place.
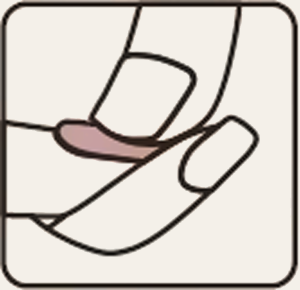
- HoldPress firmly for 15–30 seconds to secure the nail.
- CheckPress the tip of each nail. If it lifts, reapply with a fresh tab.
After: avoid water, oils and lotions for 3–5 hours while the adhesive sets. Carry a spare sheet of tabs for touch-ups.
Method 2: Nail glue For the strongest, longest wear
- Best for: long-lasting everyday wear
- Typical wear: 2–3 weeks
- Up to 4 weeks*
 1
 2
 3
 4
Start with the prep steps above, then:
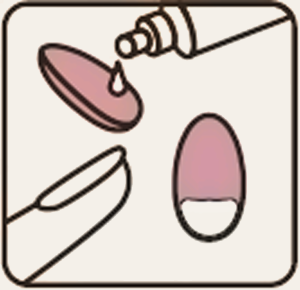
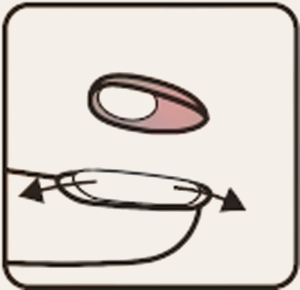
- Apply the glueApply a thin, even layer of glue to the underside of the press-on. Less glue makes a stronger bond, so don't over-apply.
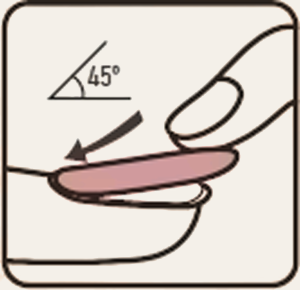
- SpreadPlace the press-on onto your natural nail and gently press down to spread the glue evenly.
- AlignAlign close to the cuticle and press firmly into place.
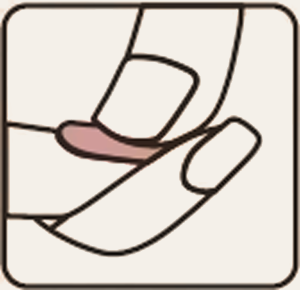
- HoldHold firmly for 15–30 seconds, pushing out any air bubbles.
After: avoid water, oils and lotions for 3–5 hours. Carry a brush-on nail glue for touch-ups.
Warning: nail glue bonds skin and eyes instantly. Avoid contact with eyes, mouth and skin, and do not force apart bonded skin. If glue enters the eyes, rinse immediately with water and seek medical advice. Do not use on damaged or infected nails or cuticles. Keep away from heat and flames, and out of reach of children.
Removal & reuse
Never force your press-ons off. A gentle removal protects your natural nails and keeps your Hue set ready for next time.
 1
 2
 3
 4
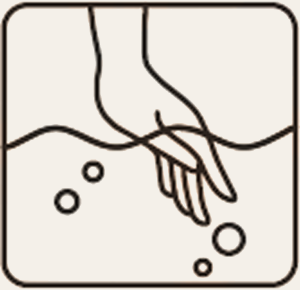
- SoakMassage oil around the cuticles and nail edges (cuticle, baby or cooking oil all work), then soak in warm, soapy water with a little oil for 10–15 minutes.
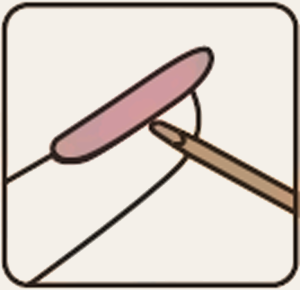
- LiftGently lift an edge with the cuticle pusher so water and oil can get underneath. Work around the edges until the nail releases. If it feels stuck, soak again.
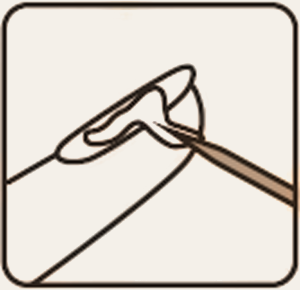
- CleanRoll off any remaining adhesive and gently file away residual glue, from your nails and the inside of each press-on.
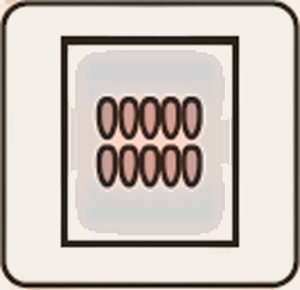
- StoreReturn each nail to its box or your Hue storage case, in a cool, dry place away from direct sunlight. Ready for your next manicure.
Tips on water and heat, storage, lifting, and caring for 3D gel, charms and chrome finishes are in our Nail care FAQs.
*With perfect preparation and care. Wear time depends on application, nail prep, daily activity and fit.
More tutorials
- Apply with sticky tabs: watch on Instagram
- Apply with nail glue: watch on Instagram
- How to remove: watch on Instagram
- Lost a nail? We offer single nail refills. Learn more